Advertisement
If you've ever tried to manage data workflows manually, you know it gets messy—fast. Scripts fail, dependencies break, and if you blink, you're already drowning in logs trying to figure out why one task didn't trigger the next. That’s where Apache Airflow steps in. Built for orchestrating workflows in a clean, programmatic way, Airflow takes the stress out of coordinating pipelines and lets you keep your focus on what actually matters—getting data from point A to point B, reliably.
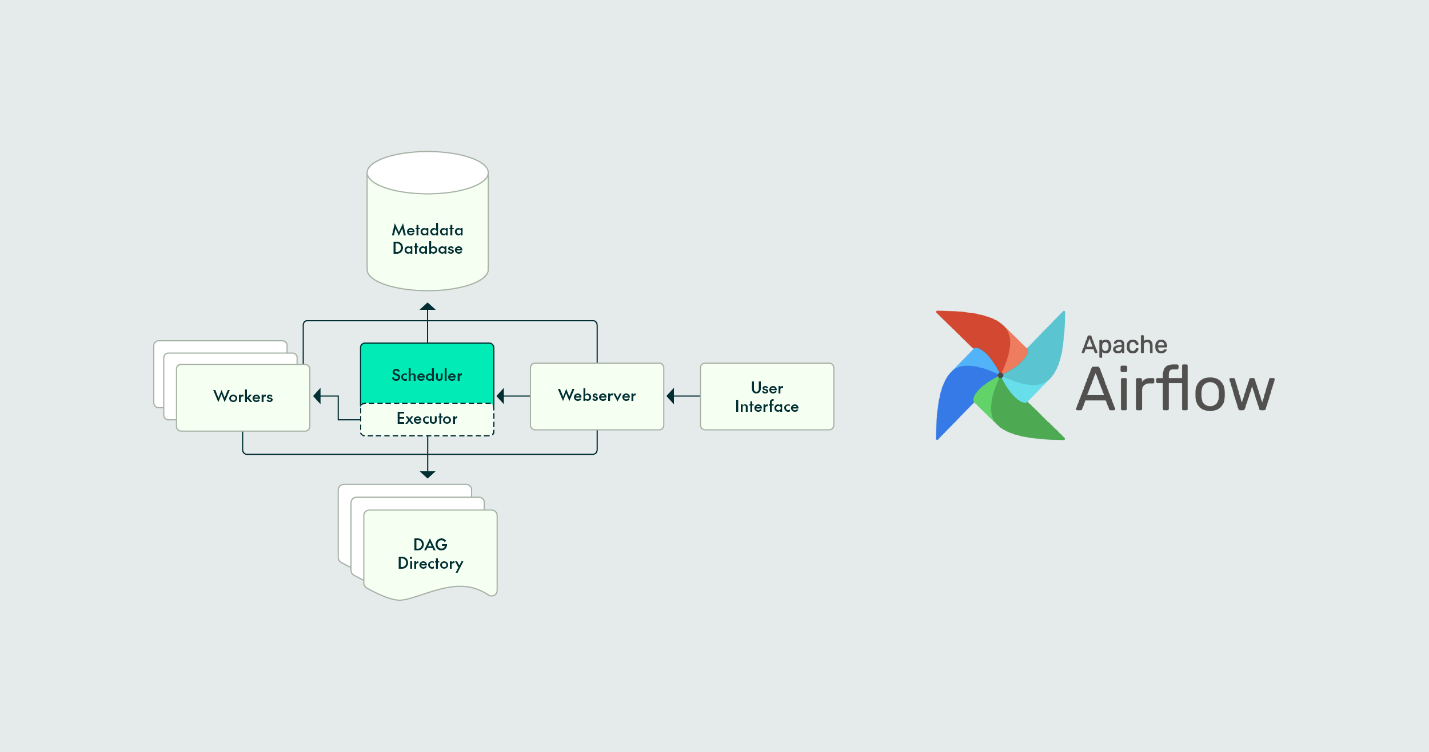
With Airflow, you don't need to guess what's going on. It's all laid out in a dashboard. You'll know what's running, what's failed, and what's waiting for its turn. And the best part? You control the logic. It's Python all the way down.
Airflow doesn’t run tasks itself—it tells other systems when and how to run them. It’s a scheduler and a monitor, not an executor. But don’t let that fool you into thinking it’s lightweight. The way it handles orchestration can dramatically change how you build data systems.
At its core, Airflow uses Directed Acyclic Graphs (DAGs) to define workflows. Each DAG is a Python file, where tasks are nodes and dependencies are the arrows. You get to write your logic as code, not as settings buried deep in some config file.
Airflow handles things like retries, failure alerts, scheduling, and task dependencies. Want a task to run only if another one succeeds? Easy. Want to pause everything if one job fails? Done. With the DAG structure, you’re not writing scattered shell scripts anymore. You’re describing a plan.
But before anything can run, Airflow needs to be set up correctly. Let’s walk through that.
This isn’t just about making a DAG file. You’re building a system here. That means setting up Airflow itself, defining how your tasks behave, and ensuring it all runs on schedule.
Airflow's installation isn't a simple pip install and go. It requires a few moving parts. The recommended way now is to use the official Airflow Docker image via the Docker Compose setup they provide.
Here’s a breakdown:
That’s your system up and running. Now, you can define what it should actually do.
A basic DAG lives in the dags/ folder and is a Python script that imports Airflow modules. You define your tasks using Operators (like PythonOperator, BashOperator, etc.) and wire them up.
Here’s what a simple structure looks like:
from airflow import DAG
from Airflow.operators.bash import BashOperator
from datetime import datetime
with DAG(
dag_id='example_data_pipeline',
start_date=datetime(2024, 1, 1),
schedule_interval='@daily',
catchup=False
) as dag:
extract = BashOperator(
task_id='extract_data',
bash_command='python3 extract.py'
)
transform = BashOperator(
task_id='transform_data',
bash_command='python3 transform.py'
)
load = BashOperator(
task_id='load_data',
bash_command='python3 load.py'
)
extract >> transform >> load
The >> operator defines task order. Airflow takes care of scheduling and retries behind the scenes.
DAGs get powerful when you stop thinking in steps and start thinking in branches, conditionals, and task groups.
Here’s where you can:
And you can define task retries, timeouts, or SLA expectations per task. It’s all code. No UI toggles.
Knowing what your DAG is supposed to do is one thing. Knowing what it’s actually doing is another. Airflow gives you a live window into your workflows, but to use it effectively, you need to configure things right.
Airflow supports sending notifications for failures, retries, or SLA misses. To make this work, update your Airflow config (Airflow.cfg or environment variables if you're in Docker) and set SMTP details.
Then, in your DAG:
default_args = {
'owner': 'data_team',
'email': ['[email protected]'],
'email_on_failure': True,
'email_on_retry': False,
'retries': 1
}
This will send an email the moment something breaks.
Once your DAG runs, head to the UI. Here’s how to read it:
Graph View: Visual layout of task dependencies.
Tree View: Status of every task per run.
Gantt Chart: Timeline view of task durations.
Logs: Instant access to stdout/stderr from each task.
The UI isn’t just for monitoring—it’s interactive. You can mark tasks as successful, clear them for re-run, or trigger DAGs manually.
If you’re working at scale, alerts via email might not be enough. Airflow supports integration with tools like Prometheus, Grafana, and Datadog via plugins or APIs. You can export metrics such as:
This helps if you're trying to correlate slow pipelines with infrastructure issues.
Airflow will run your workflows. But if your DAGs are brittle or hard to maintain, things will break anyway. Here’s what to look out for.
Each task should be safe to re-run. Airflow retries tasks by design, so a task that writes duplicate records on each run isn't going to cut it.
Make sure tasks:
Instead of writing out full file paths or database strings inside your DAGs, use Airflow’s Variables and Connections. These are managed through the UI or CLI, and they decouple your config from your code.
It also means you can move from dev to prod without rewriting scripts.
Before pushing to production, test DAG logic locally using:
airflow dags test your_dag_id 2024-01-01
This runs the DAG without the scheduler, so you can catch bugs in logic or imports.
Airflow isn’t just another automation tool—it’s a system builder’s toolkit. If you want control, visibility, and scalability, it gives you all three. But only if you build it right.
Start by setting up your environment cleanly. Define your workflows in code, not text boxes. Monitor using the built-in UI, and extend with tools that make sense for your team. And never assume things “just work.” Set alerts. Read logs. Test before you trust. Because in the end, Airflow won’t fix bad workflows. But it will show you exactly where they went wrong—and give you every tool to make them better.
Advertisement

Should credit risk models focus on pure accuracy or human clarity? Explore why Explainable AI is vital in financial decisions, balancing trust, regulation, and performance in credit modeling

New to YARN? Learn how YARN manages resources in Hadoop clusters, improves performance, and keeps big data jobs running smoothly—even on a local setup. Ideal for beginners and data engineers

How Hugging Face for Education makes AI accessible through user-friendly machine learning models, helping students and teachers explore natural language processing in AI education

Learn how Apache Oozie coordinates Hadoop jobs with XML workflows, time-based triggers, and clean orchestration. Ideal for production-ready data pipelines and complex ETL chains

How Q-learning works in real environments, from action selection to convergence. Understand the key elements that shape Q-learning and its role in reinforcement learning tasks

Confused about MLOps? Learn how MLflow makes machine learning deployment, versioning, and collaboration easier with real-world workflows for tracking, packaging, and serving models
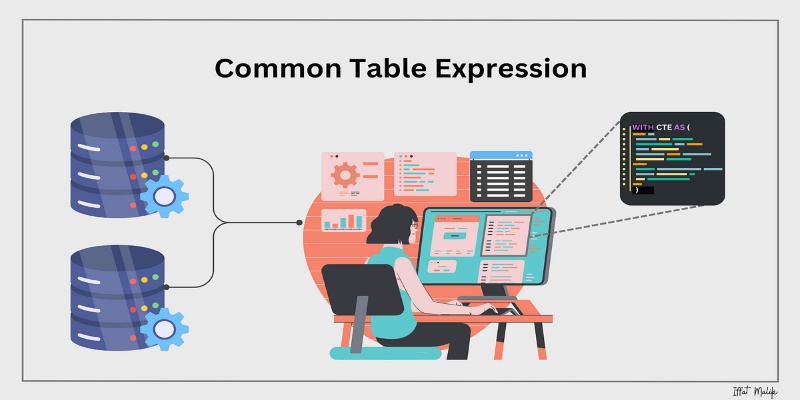
Learn what a Common Table Expression (CTE) is, why it improves SQL query readability and reusability, and how to use it effectively—including recursive CTEs for hierarchical data
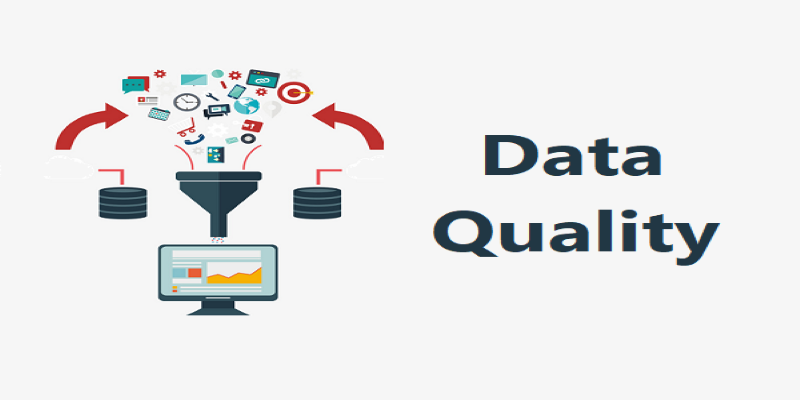
Explore how data quality impacts machine learning outcomes. Learn to assess accuracy, consistency, completeness, and timeliness—and why clean data leads to better, more stable models
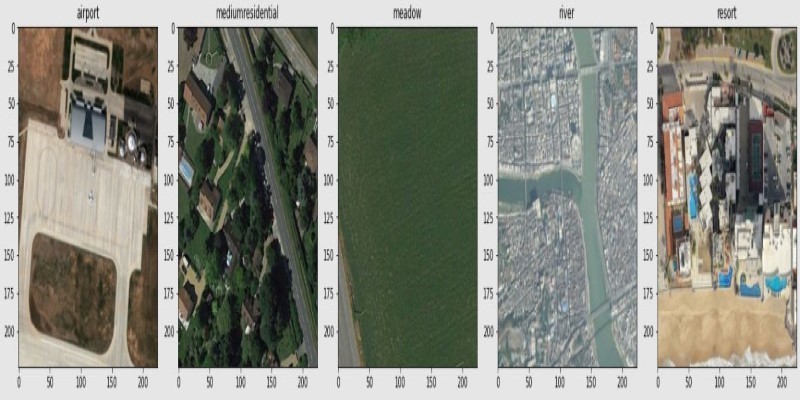
How fine-tuning CLIP with satellite data improves its performance in interpreting remote sensing images and captions for tasks like land use mapping and disaster monitoring
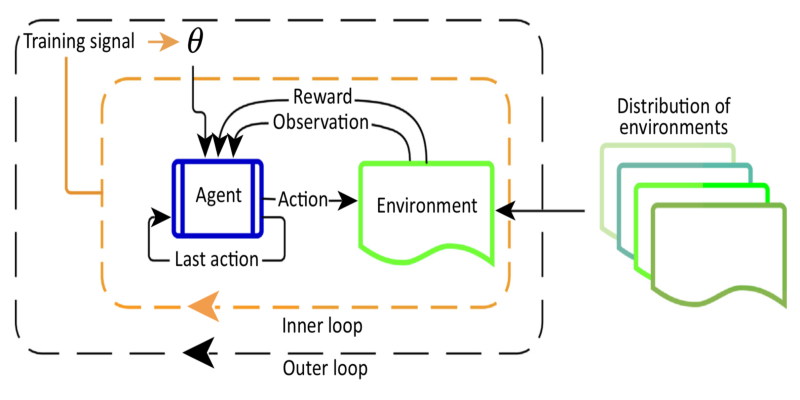
Curious about Meta-RL? Learn how meta-reinforcement learning helps data science systems adapt faster, use fewer samples, and evolve smarter—without retraining from scratch every time

How Stable Diffusion in JAX improves speed, scalability, and reproducibility. Learn how it compares to PyTorch and why Flax diffusion models are gaining traction

How do we keep digital research accessible and citable over time? Learn how assigning DOIs to datasets and models supports transparency, reproducibility, and proper credit in modern research